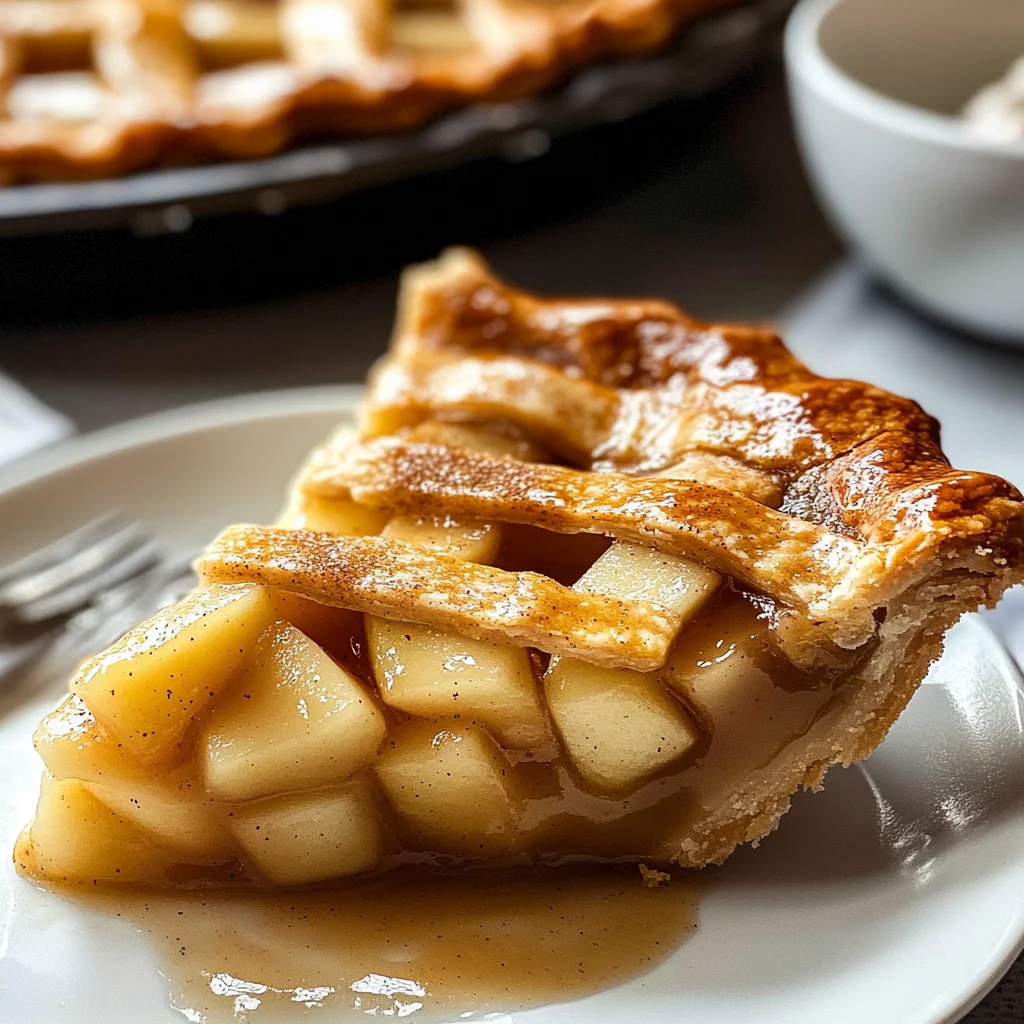
If you’re looking for a dessert that brings warmth and comfort to any gathering, look no further than this Classic Apple Pie with Buttery Crust. It’s not just a recipe; it’s a slice of nostalgia that fills your kitchen with the sweet aroma of baked apples and spices. This pie is perfect for busy weeknights when you want something special or for family gatherings where everyone will gather around the table, eager for a taste of homemade goodness.
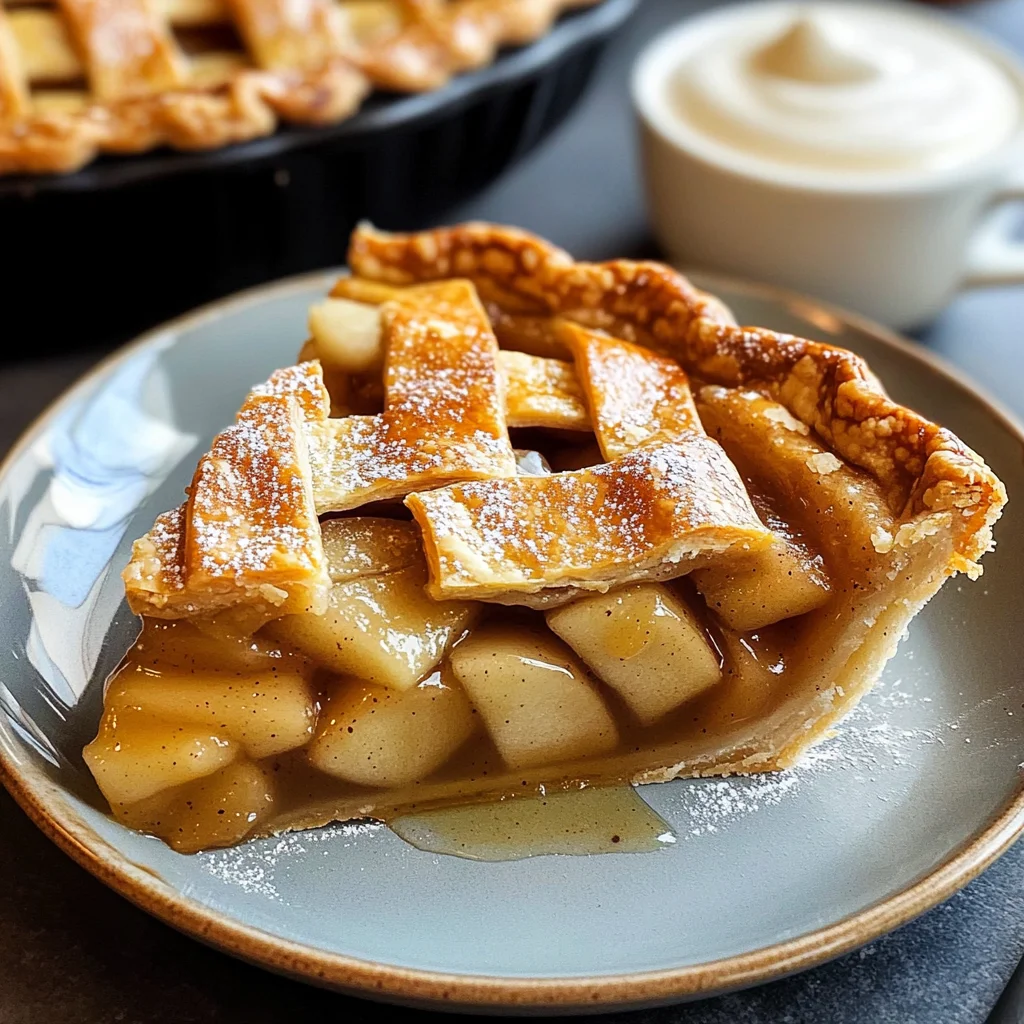
What makes this pie so special? Well, it’s all about the flaky, buttery crust cradling tender apple slices, all mixed together in a delightful cinnamon-nutmeg syrup. Each bite is like wrapping yourself in a cozy blanket on a chilly day, reminding us of cherished moments spent with loved ones. Trust me, this classic dessert will quickly become one of your favorites!
Why You’ll Love This Recipe
- Quick to prepare: With just a few simple steps, you’ll have a delicious pie ready to bake.
- Family-friendly: Everyone loves apple pie! It’s a sure hit at any gathering—kids and adults alike will savor every bite.
- Make-ahead goodness: Prepare the crust and filling ahead of time. Just assemble and bake when you’re ready to serve!
- Versatile flavors: Feel free to mix different apple varieties or add your favorite toppings for an extra special touch.
- Perfectly comforting: This pie is warm and inviting—a true crowd-pleaser that evokes happy memories.
Ingredients You’ll Need
Gathering simple, wholesome ingredients is part of the fun! Here’s what you need for your Classic Apple Pie with Buttery Crust:
For the Crust
- 2 ½ cups all-purpose flour
- 1 cup unsalted butter, cold and cubed
- ½ tsp salt
- Ice water (approximately 6-8 tbsp)
For the Filling
- ¾ cup granulated sugar
- 1 tsp cinnamon
- ¼ tsp nutmeg
- 6 cups Granny Smith or Honeycrisp apples, peeled and sliced
- 2 tbsp lemon juice
Variations
One of the best things about this recipe is its flexibility! You can easily customize it to suit your tastes or what you have on hand.
- Mix up the apples: Use a combination of different apple varieties for a more complex flavor profile.
- Add some texture: Sprinkle oats or nuts on top before baking for added crunch.
- Try a twist: Experiment by adding dried fruits like cranberries or raisins into the filling for an unexpected burst of sweetness.
- Indulge your sweet tooth: Drizzle caramel sauce over individual slices just before serving for an extra decadent treat!
How to Make Classic Apple Pie with Buttery Crust
Step 1: Prepare the Crust
Begin by mixing the flour and salt in a large bowl. This step helps ensure even seasoning throughout your crust. Next, cut in the cold butter. The goal here is to create coarse crumbs; this is what gives your pie its flaky texture. Gradually add in ice water until the dough comes together. Don’t forget to divide it into two discs, wrap them in plastic wrap, and refrigerate them for at least one hour. Chilling is crucial—it helps prevent shrinkage during baking!
Step 2: Preheat Your Oven
While your dough chills in the fridge, go ahead and preheat your oven to 425°F (220°C). A hot oven creates that beautiful golden brown crust we all love.
Step 3: Make the Filling
In another bowl, toss together your sliced apples, sugar, cinnamon, nutmeg, and lemon juice. Letting this mixture sit while your dough chills allows those flavors to meld beautifully together. Plus, the lemon juice keeps those apples nice and bright!
Step 4: Roll Out Your Dough
Once chilled, take out one disc of dough and roll it out on a floured surface into a circle slightly larger than your pie dish. This step can feel therapeutic—just be gentle! Place it gently in your dish and trim any excess dough hanging over the edges.
Step 5: Assemble Your Pie
Now for the fun part! Fill your crust with that lovely apple mixture. Dot small pieces of butter on top—it adds richness as it bakes. Roll out your second disc of dough to cover everything up! Seal those edges by crimping them together nicely and remember to cut slits in the top crust so steam can escape during baking.
Step 6: Bake Until Golden Brown
Place your pie in that preheated oven for about 45-50 minutes until it’s golden brown and bubbly. The anticipation will build as aromas fill your home! Once it’s done baking, let it cool slightly before slicing into it—though I won’t blame you if you sneak a piece right away!
Enjoy sharing this delicious Classic Apple Pie with Buttery Crust with family and friends—it’s sure to create lasting memories!
Pro Tips for Making Classic Apple Pie with Buttery Crust
Creating the perfect apple pie is a labor of love, and a few helpful tips can make your baking experience even more rewarding.
-
Use cold ingredients: Starting with cold butter and ice-cold water helps to create that flaky texture in the crust, ensuring it bakes up beautifully crisp and golden.
-
Don’t skip the chilling time: Refrigerating the dough allows the gluten to relax, resulting in a tender crust that won’t shrink during baking.
-
Mix apple varieties: Combining different types of apples not only adds depth of flavor but also balances sweetness and tartness, making each bite a delightful surprise.
-
Vent your pie properly: Cutting slits in the top crust allows steam to escape, preventing sogginess and helping to achieve that perfect golden-brown finish.
-
Let it cool before slicing: Allowing the pie to cool for at least an hour helps the filling set, making it easier to slice and serve without it falling apart.
How to Serve Classic Apple Pie with Buttery Crust
Nothing says comfort like a warm slice of classic apple pie! Here are some delightful ways to present this timeless dessert that will impress your family and friends.
Garnishes
- Whipped Coconut Cream: A dollop of whipped coconut cream on top adds a light, fluffy texture that complements the warm pie beautifully.
- Cinnamon Sugar Dusting: Sprinkling a little cinnamon sugar on top right before serving enhances the aroma and gives an extra touch of sweetness.
- Chopped Nuts: Toasted pecans or walnuts sprinkled on top lend a delightful crunch and nutty flavor that pairs wonderfully with apples.
Side Dishes
- Vanilla Ice Cream: A classic pairing! The creaminess of vanilla ice cream contrasts perfectly with the warm spices in the pie.
- Caramel Sauce: Drizzling homemade or store-bought caramel sauce over individual slices adds richness and an indulgent touch.
- Fresh Fruit Salad: A refreshing fruit salad can balance out the sweetness of the pie, providing a burst of freshness with every bite.
- Cheese Platter: A selection of mild cheeses can add an interesting savory element that complements the sweetness of the apple pie, creating a well-rounded dessert experience.
With these serving suggestions and pro tips in hand, you’re all set to create a memorable dessert that will be cherished by all. Enjoy your delicious journey into baking!
Make Ahead and Storage
This Classic Apple Pie with Buttery Crust is a fantastic option for meal prep! You can prepare it in advance, making it a convenient choice for busy days or special occasions.
Storing Leftovers
- Allow the pie to cool completely before storing.
- Cover the pie loosely with plastic wrap or aluminum foil.
- Store in the refrigerator for up to 3 days.
Freezing
- To freeze, wrap the cooled pie tightly in plastic wrap and then in aluminum foil.
- Freeze for up to 3 months for best quality.
- Thaw overnight in the refrigerator before reheating.
Reheating
- Preheat your oven to 350°F (175°C).
- Remove any plastic wrap and cover loosely with aluminum foil.
- Bake for about 15-20 minutes until warmed through.
FAQs
Here are some common questions you might have about making this delicious dessert!
How can I make the crust for Classic Apple Pie with Buttery Crust even flakier?
To achieve an extra flaky crust, ensure your butter is very cold when mixing it into the flour. You can also try using a pastry cutter instead of your hands to minimize warmth from your fingers.
Can I use other types of apples in my Classic Apple Pie with Buttery Crust?
Absolutely! While Granny Smith and Honeycrisp are great choices, feel free to mix different apple varieties like Fuji, Braeburn, or Gala for a unique flavor profile.
What are some variations I can try with Classic Apple Pie with Buttery Crust?
You can experiment by adding ingredients like cranberries for tartness, or even oats on top for added crunch. Drizzling caramel sauce over individual slices adds a lovely touch as well!
Final Thoughts
I hope you find joy in making this Classic Apple Pie with Buttery Crust! It’s more than just a dessert; it’s a warm hug of nostalgia that brings family and friends together. Enjoy every slice and create wonderful memories as you share this delightful pie. Happy baking!
Classic Apple Pie with Buttery Crust
Indulge in the warmth and nostalgia of a Classic Apple Pie with Buttery Crust. This delightful dessert combines tender, spiced apple slices with a flaky, buttery crust that evokes memories of home and family gatherings. Perfect for any occasion, whether it’s a cozy weeknight dinner or a festive holiday meal, this pie fills your kitchen with the sweet aroma of cinnamon and baked apples. With simple ingredients and straightforward steps, you can create this comforting classic that will delight both kids and adults alike. Enjoy every slice as you gather around the table with loved ones!
- Prep Time: 30 minutes
- Cook Time: 50 minutes
- Total Time: 1 hour 20 minutes
- Yield: Serves 8
- Category: Dessert
- Method: Baking
- Cuisine: American
Ingredients
- 2 ½ cups all-purpose flour
- 1 cup unsalted butter, cold and cubed
- ½ tsp salt
- Ice water (approximately 6-8 tbsp)
- ¾ cup granulated sugar
- 1 tsp cinnamon
- ¼ tsp nutmeg
- 6 cups Granny Smith or Honeycrisp apples, peeled and sliced
- 2 tbsp lemon juice
Instructions
- Prepare the crust: In a large bowl, mix flour and salt. Cut in cold butter until coarse crumbs form. Gradually add ice water until dough holds together. Divide into two discs, wrap in plastic wrap, and chill for at least one hour.
- Preheat oven to 425°F (220°C).
- Make the filling: Toss apple slices with sugar, cinnamon, nutmeg, and lemon juice in a bowl. Let sit while dough chills.
- Roll out one disc of dough on a floured surface to fit your pie dish. Place in dish and trim excess.
- Fill the crust with apple mixture, dot with small pieces of butter, then cover with rolled-out second disc of dough. Seal edges and cut slits for steam.
- Bake for 45-50 minutes until golden brown and bubbly; cool slightly before serving.
Nutrition
- Serving Size: 1 slice (106g)
- Calories: 285
- Sugar: 14g
- Sodium: 47mg
- Fat: 13g
- Saturated Fat: 8g
- Unsaturated Fat: 4g
- Trans Fat: 0g
- Carbohydrates: 38g
- Fiber: 3g
- Protein: 2g
- Cholesterol: 31mg
Leave a Comment