If you’re looking for a way to capture the essence of fall in your kitchen, this Apple Pie Jam {for canning} is just the ticket! Imagine spreading this sweet, spiced goodness on warm toast or dolloping it over your favorite dessert. It’s a family favorite that brings smiles at gatherings and makes a delightful homemade gift. Plus, it’s a simple recipe that even beginner canners can tackle with confidence!
This jam isn’t just about taste; it’s also about creating memories. Whether you’re stirring it up on a cozy weekend or preparing jars to share with loved ones, it’s the perfect blend of tradition and flavor that will have everyone asking for more.
Why You’ll Love This Recipe
- Quick and Easy: With just 40 minutes from start to finish, you’ll have delicious jam ready to enjoy without spending all day in the kitchen.
- Wholesome Ingredients: Made with fresh apples and organic apple juice, this jam is not only tasty but also packed with natural goodness.
- Canning Made Simple: This recipe is perfect for water bath canning, so you can store your jam for months or share it as thoughtful gifts.
- Family-Friendly Flavor: The warm spices will remind you of home-baked apple pie, making it a hit with both kids and adults alike.
- Versatile Use: Spread it on bread, swirl it into yogurt, or use it as a topping for desserts—this jam fits in anywhere!
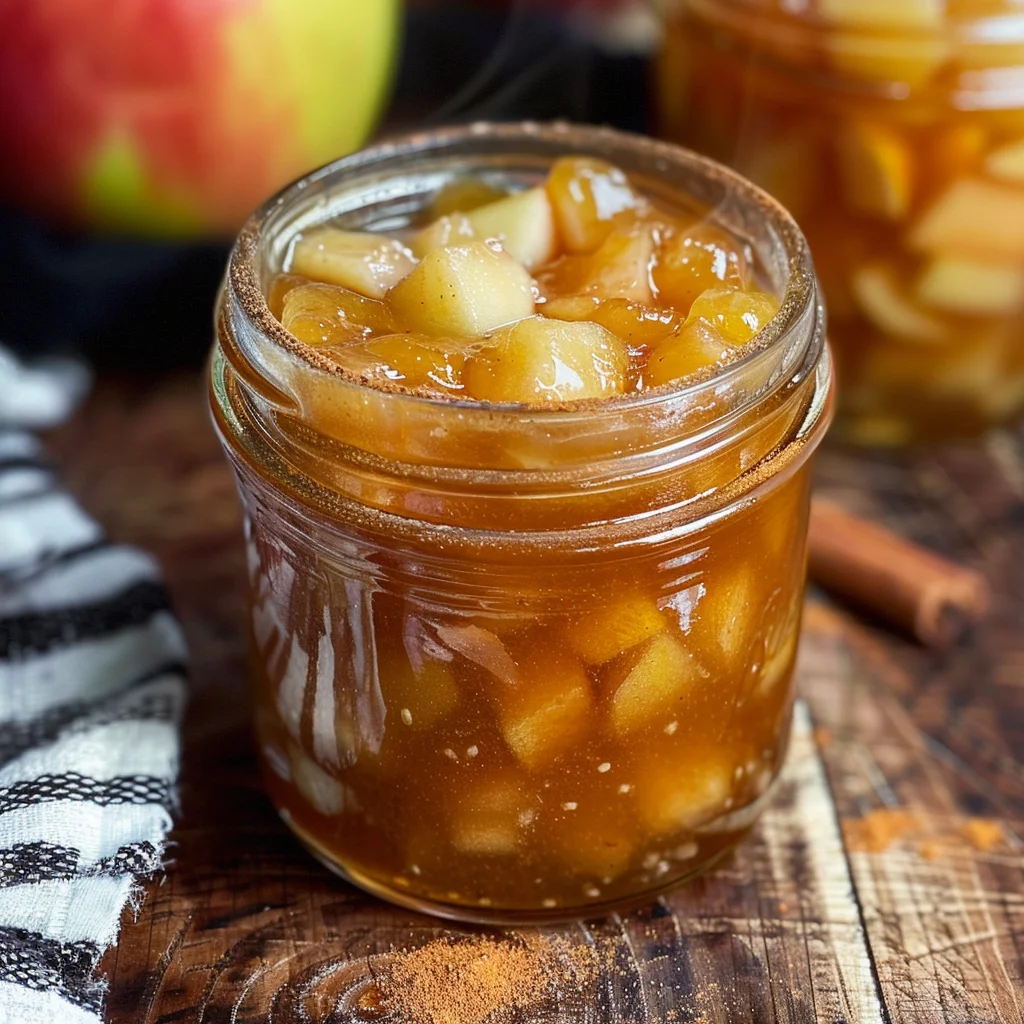
Ingredients You’ll Need
Making this Apple Pie Jam {for canning} requires simple, wholesome ingredients that you probably already have on hand or can easily find at your local store. Here’s what you’ll need:
For the Jam
- 8 cups peeled and diced apples (about 6 apples) (I recommend using Granny Smith green apples)
- 2 cups apple juice (I recommend using organic)
- 1 small lemon, zest and juice
- 1 tbsp apple cider vinegar
- pinch of salt
- 3 tbsp pectin
- 1.5 tsp ground cinnamon
- 1/2 tsp ground ginger
- 1/2 tsp ground cardamom
- 1/4 tsp ground cloves
- 1/4 tsp ground nutmeg
- 3 cups white granulated sugar
Variations
This recipe is wonderfully flexible! You can easily adapt it to suit your taste or dietary preferences. Here are some fun variation ideas:
- Add Some Spice: Sprinkle in a dash of cayenne pepper for a spicy kick that complements the sweetness beautifully.
- Fruit Fusion: Mix in other fruits like pears or cranberries for a unique twist on traditional apple pie flavors.
- Lower Sugar Option: Substitute some of the sugar with honey or maple syrup for a different sweetener profile while still achieving delicious results.
- Make It Vegan: Use agave syrup instead of sugar to keep it plant-based while still enjoying that sweet apple flavor.
How to Make Apple Pie Jam {for canning}
Step 1: Prepare the Apples
Start by peeling and dicing your apples into small pieces—this helps them cook down quickly into that lovely jam consistency. Combine the diced apples with apple juice, lemon zest and juice, apple cider vinegar, and a pinch of salt in a large pot on the stove. Bring everything to a boil over medium-high heat; then reduce the heat and let it simmer for about 10-12 minutes until those apples become tender. This step is crucial because softening the apples allows them to meld perfectly with all those wonderful spices.
Step 2: Add Your Spices
Once your apples are tender, it’s time to add in those aromatic spices! Sprinkle the pectin over the top while stirring gradually; this ensures an even distribution throughout the mixture. Turn the heat back up high and bring everything to a full rolling boil before adding in all that sugar at once. This part is important because achieving that rolling boil helps activate the pectin fully, which is key for setting your jam.
Step 3: Boil and Stir
When your mixture reaches that rolling boil that can’t be stirred down, set your timer for one minute. Stir continuously during this minute to prevent scorching—nobody wants burnt jam! Once done, remove the pot from heat. At this point, you have two options: either spoon your delicious jam into jars for immediate refrigeration or follow proper canning instructions for long-term storage. Either way, you’re about to enjoy something truly special!
Pro Tips for Making Apple Pie Jam {for canning}
Making Apple Pie Jam is a delightful experience, and these tips will help you achieve the best results!
-
Choose the Right Apples: Opt for tart apples like Granny Smith for a balanced flavor. Their acidity enhances the taste and helps the jam set properly.
-
Prep Your Jars in Advance: Sterilize your jars before starting to ensure a safe canning process. This prevents any bacteria from spoiling your delicious jam.
-
Use Fresh Ingredients: Fresh lemons and spices will elevate the flavor of your jam. The zest and juice of a lemon brighten up the entire recipe!
-
Monitor Consistency: To check if your jam is ready, use the cold plate test. Place a spoonful of jam on a cold plate, let it sit for a minute, then run your finger through it; if it holds its shape, you’re good to go!
-
Don’t Rush the Boil: Bring your mixture to a full rolling boil without stirring. This crucial step ensures that your jam reaches the right temperature for proper preservation.
How to Serve Apple Pie Jam {for canning}
This Apple Pie Jam is versatile and can be enjoyed in various ways, making it a fantastic addition to your kitchen staples.
Garnishes
- Whipped Cream: A dollop of whipped cream on top adds creaminess and complements the spiced flavors.
- Chopped Nuts: Sprinkle some chopped pecans or walnuts for added crunch and texture.
Side Dishes
- Toast: Serve on freshly toasted bread or bagels for a simple breakfast treat that’s bursting with flavor.
- Cheese Plate: Pair with sharp cheddar or creamy brie for an elegant cheese board that balances sweetness and richness.
- Pancakes or Waffles: Drizzle over pancakes or waffles as an alternative syrup that adds warmth and spice to your morning routine.
- Yogurt Parfait: Layer with yogurt and granola for a healthy snack or breakfast option that’s both satisfying and delicious.
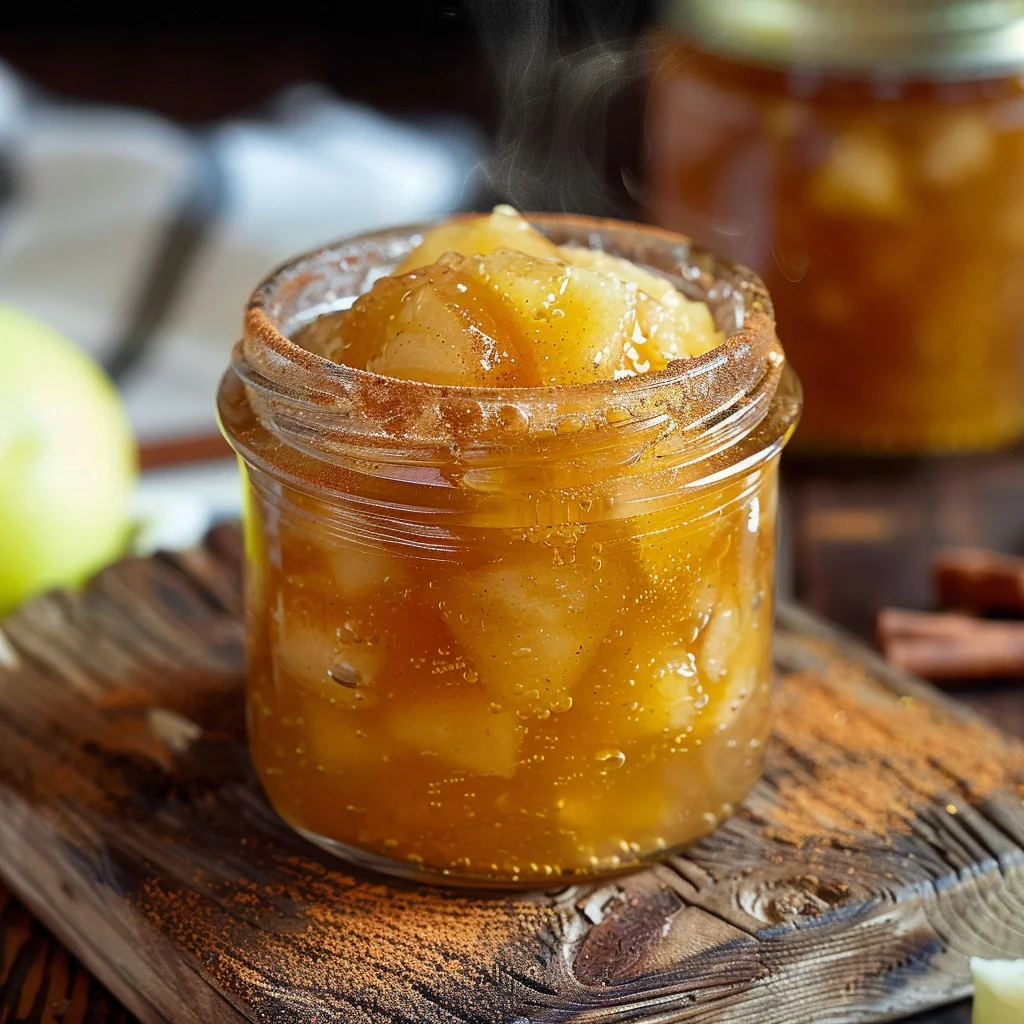
Make Ahead and Storage
This Apple Pie Jam is perfect for meal prep, allowing you to enjoy the taste of fall all year round. Here are some tips for storing and extending its deliciousness.
Storing Leftovers
- Store your Apple Pie Jam in airtight jars in the refrigerator.
- It should last up to 3 weeks when stored properly.
- Always use a clean spoon to scoop out jam to prevent contamination.
Freezing
- If you want to keep your jam longer, consider freezing it.
- Use freezer-safe containers or jars, leaving some space at the top for expansion.
- Label with the date and freeze for up to a year.
Reheating
- To serve warm, place the desired amount of jam in a small saucepan over low heat.
- Stir gently until warmed through; avoid boiling to preserve flavor.
FAQs
Can I use different types of apples for Apple Pie Jam {for canning}?
Yes! While Granny Smith apples are recommended for their tartness, you can experiment with other varieties like Honeycrisp or Fuji. Just make sure they’re firm and not overly ripe.
How long does Apple Pie Jam {for canning} last?
When canned properly, Apple Pie Jam can last up to a year on your pantry shelf. Once opened, it should be refrigerated and consumed within 3 weeks.
Can I adjust the sugar in Apple Pie Jam {for canning}?
Absolutely! You can reduce the sugar slightly or try using a sugar substitute. Just keep in mind that this may affect the texture and sweetness of the final product.
Final Thoughts
This Apple Pie Jam is more than just a spread; it’s a jar full of warm memories and cozy moments. I hope you find joy in making this recipe as much as I do! Enjoy every spoonful, and don’t hesitate to share your creations with friends and family. Happy canning!
Apple Pie Jam for Canning
If you’re eager to bring the flavors of fall into your kitchen, this Apple Pie Jam for canning is the perfect solution! Bursting with the sweetness of fresh apples and aromatic spices, this jam is ideal for spreading on warm toast or topping off desserts. Not only does it make a delightful homemade gift, but it’s also a simple, approachable recipe that even novice canners can master.
- Prep Time: 15 minutes
- Cook Time: 25 minutes
- Total Time: 40 minutes
- Yield: Approximately 48 servings (about six half-pint jars) 1x
- Category: Condiment
- Method: Canning
- Cuisine: American
Ingredients
- 8 cups peeled and diced apples (about 6 Granny Smith apples)
- 2 cups organic apple juice
- 1 small lemon (zest and juice)
- 1 tbsp apple cider vinegar
- Pinch of salt
- 3 tbsp pectin
- 1.5 tsp ground cinnamon
- 1/2 tsp ground ginger
- 1/2 tsp ground cardamom
- 1/4 tsp ground cloves
- 1/4 tsp ground nutmeg
- 3 cups white granulated sugar
Instructions
- Prepare the Apples: Peel and dice apples. In a large pot, combine apples with apple juice, lemon zest and juice, apple cider vinegar, and salt. Bring to a boil over medium-high heat; then reduce heat and simmer for about 10-12 minutes until tender.
- Add Your Spices: Stir in pectin while gradually mixing into the apples. Increase heat to high until mixture reaches a rolling boil. Add sugar all at once and maintain that boil for one minute while stirring continuously.
- Boil and Stir: After one minute, remove from heat. Spoon into sterilized jars for refrigeration or follow proper canning guidelines for long-term storage.
Nutrition
- Serving Size: 1 serving
- Calories: 50
- Sugar: 12g
- Sodium: 0mg
- Fat: 0g
- Saturated Fat: 0g
- Unsaturated Fat: 0g
- Trans Fat: 0g
- Carbohydrates: 13g
- Fiber: 0g
- Protein: <1g
- Cholesterol: 0mg


Leave a Comment