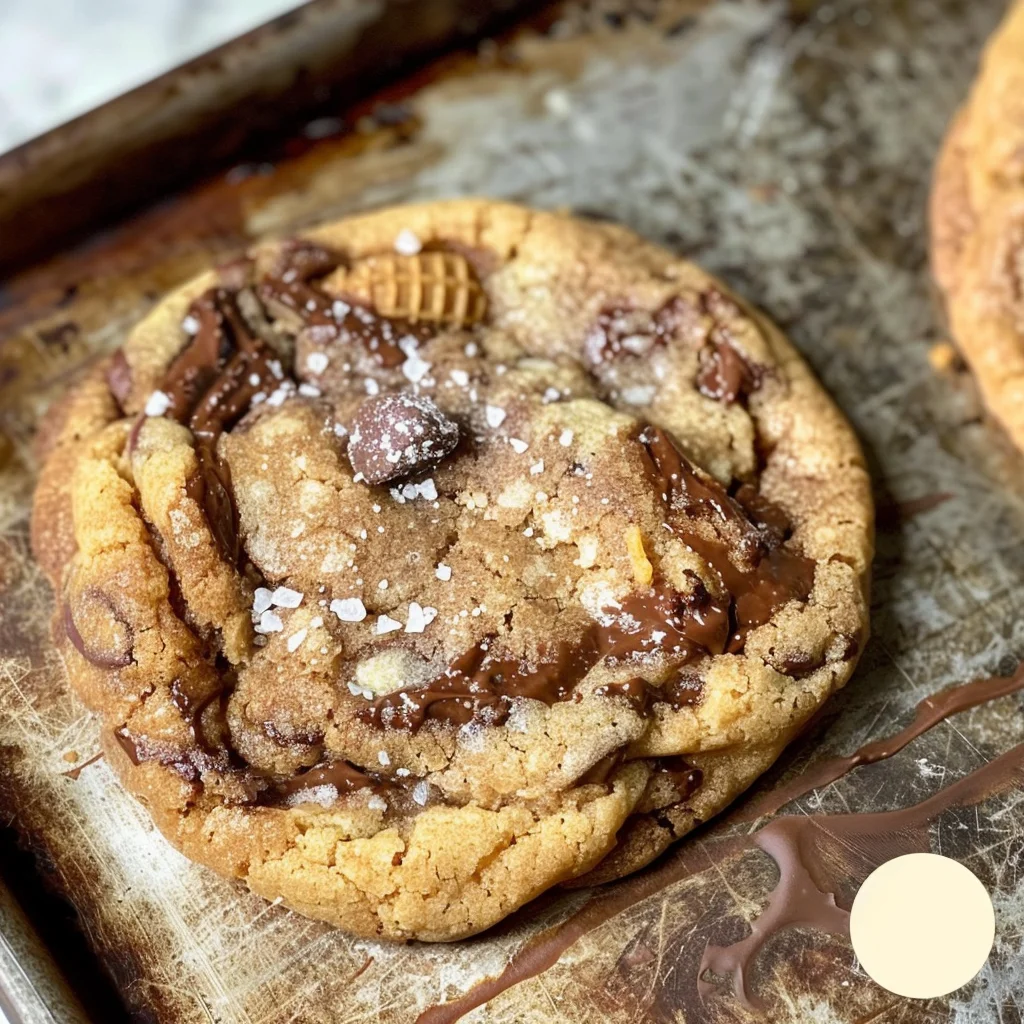
If you’re looking for a delightful treat that brings back childhood memories, these Ice Cream Cone Cookies are just the ticket! Imagine biting into a soft, chewy cookie filled with crunchy bits of ice cream cones, sweet chocolate chips, and swirls of rich hot fudge. These cookies are perfect for busy weeknights when you want something quick yet satisfying, or for family gatherings where everyone will be reaching for seconds. They’re not just cookies; they’re a fun experience that everyone will love!
Why You’ll Love This Recipe
- Easy to make: With simple steps and minimal prep time, you can whip these up in no time.
- Family-friendly: Kids and adults alike adore the unique twist on the classic cookie.
- Customizable flavors: Add your favorite mix-ins to make each batch your own.
- Perfect for sharing: Great for parties or bake sales; everyone will want to try them!
- Deliciously indulgent: The combination of crunchy and chewy textures, along with sweet flavors, makes every bite a joy.
Ingredients You’ll Need
These Ice Cream Cone Cookies are made with simple, wholesome ingredients that you probably already have in your pantry. Let’s gather what we need:
For the Cookie Base
- ½ cup butter
- ¾ cup brown sugar
- ¼ cup granulated sugar
- 1 large egg
- 2 tsp vanilla
- ½ tsp baking powder
- ½ tsp baking soda
- ½ tsp salt
- 1½ cups all-purpose flour
For the Mix-Ins
- ½ cup chocolate chips
- 2 sugar or waffle cones (broken into pieces)
- 3 tbsp hot fudge (chilled or frozen)
- Flaked salt for topping
Variations
This recipe is wonderfully flexible! You can easily adapt it to suit your preferences or dietary needs. Here are a few ideas:
- Swap the chocolate chips: Use white chocolate or peanut butter chips for a different flavor profile.
- Try nutty additions: Fold in some chopped nuts like walnuts or pecans for extra crunch.
- Make it gluten-free: Substitute all-purpose flour with a gluten-free blend to accommodate dietary restrictions.
- Add sprinkles: For a fun party twist, mix in colorful sprinkles for added cheer.
How to Make Ice Cream Cone Cookies
Step 1: Preheat and Prepare
Start by preheating your oven to 375°F (190°C). This step is crucial because it ensures your cookies bake evenly and achieve that perfect golden-brown edge. Line two baking sheets with parchment paper to prevent sticking and make cleanup a breeze.
Step 2: Cream the Butter and Sugars
In a stand mixer fitted with a paddle attachment, combine the butter and sugars. Beat on medium-high speed until the mixture is light and fluffy—this usually takes about 3 to 4 minutes. Creaming incorporates air into the dough, giving your cookies that delightful texture.
Step 3: Mix in Egg and Vanilla
Add the egg and vanilla extract to the creamed mixture. Mix on low speed until everything is smooth. This step adds moisture and flavor, making your cookies irresistibly delicious!
Step 4: Combine Dry Ingredients
Gradually add in the dry ingredients—baking powder, baking soda, salt, and flour—mixing gently until just combined. Be careful not to over-mix; stopping when you still have some flour remnants ensures tender cookies.
Step 5: Fold in Chocolate Chips and Cones
Gently fold in the chocolate chips along with broken pieces of ice cream cones. Then, spoon in three dollops of hot fudge onto the dough and swirl carefully—this creates beautiful marbling without losing too much definition.
Step 6: Scoop and Bake
Using a cookie scoop (about 4 tablespoons), place cookie balls onto your prepared baking sheets. Leave enough space between them as they will spread while baking! Finish by sprinkling some flaked salt on top before popping them in the oven.
Step 7: Shape and Cool
Bake for 11-14 minutes until edges turn golden brown. Once done, use a spoon or spatula around each cookie while they’re still warm to achieve perfect circles. Allow them to cool slightly before enjoying these scrumptious treats!
Pro Tips for Making Ice Cream Cone Cookies
Making cookies can be a delightful experience, especially when you have a few pro tips up your sleeve!
- Don’t Overmix the Dough: Gently fold in the dry ingredients to maintain a tender texture. Overmixing can lead to tough cookies, so stop mixing as soon as you no longer see flour.
- Chill the Dough: If time permits, chilling your dough for about 30 minutes can enhance the flavors and help the cookies hold their shape better during baking.
- Use Fresh Ingredients: Make sure your baking soda and powder are fresh for optimal rise. Expired leavening agents can lead to flat cookies that don’t have the desired chewy texture.
- Adjust Baking Time: Keep an eye on your cookies as they bake, since ovens vary. Bake until the edges are golden brown while keeping the centers slightly soft for that perfect chewy bite.
- Experiment with Cone Flavors: Try using different flavored cones, such as chocolate or cinnamon, to lend a unique twist to your cookie flavor profile.
How to Serve Ice Cream Cone Cookies
These ice cream cone cookies are not only delicious but also visually appealing, making them perfect for various occasions!
Garnishes
- Flaked Sea Salt: A sprinkle of flaked sea salt on top enhances sweetness and adds an intriguing flavor contrast.
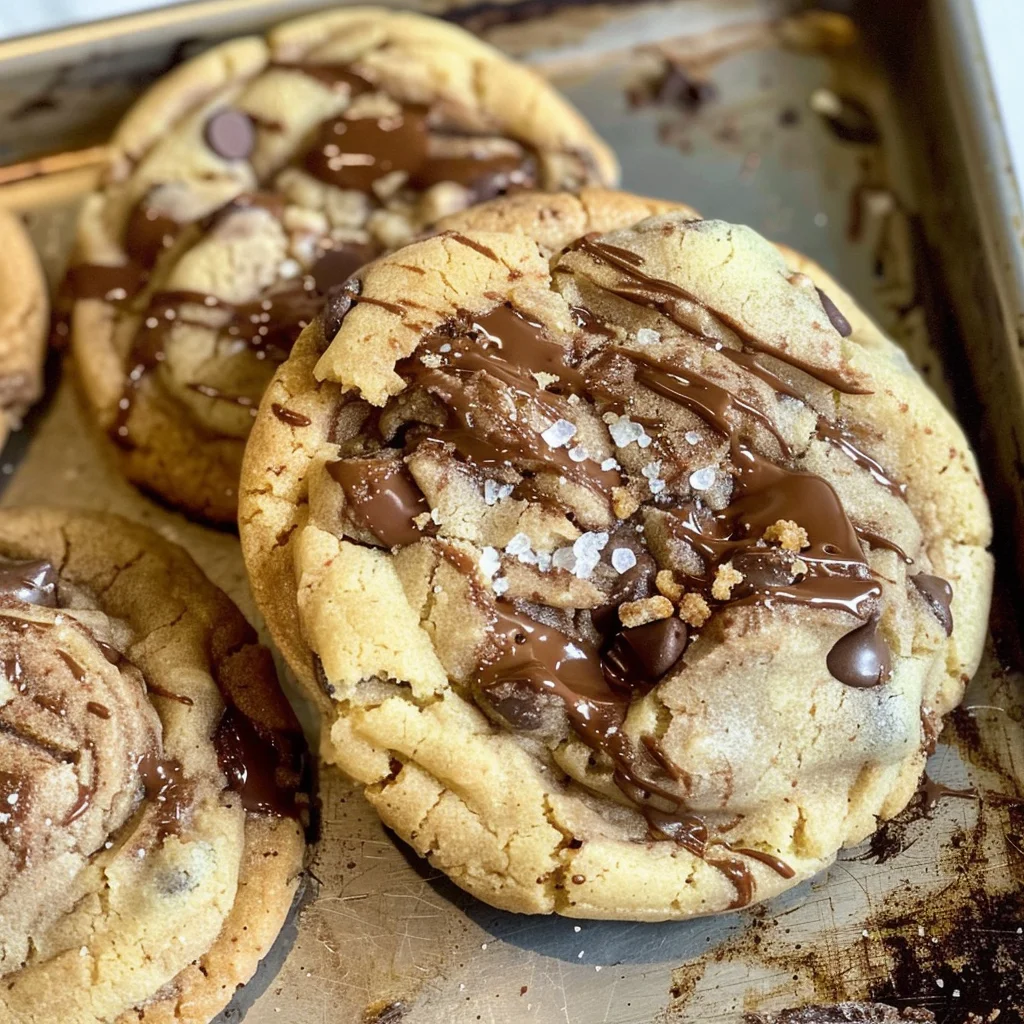
- Chocolate Drizzle: A light drizzle of melted chocolate over the cooled cookies can elevate their appearance and taste.
- Chopped Nuts: Adding some chopped nuts like walnuts or pecans can provide a delightful crunch and a nutty flavor.
Side Dishes
- Vanilla Ice Cream: Serve alongside a scoop of vanilla ice cream to create a fun ice cream sandwich experience!
- Fresh Berries: A side of fresh strawberries or raspberries adds vibrant color and a refreshing tartness that complements the sweetness of the cookies.
- Milkshake: Pair with a classic milkshake for a nostalgic treat that’s perfect for sharing on warm days.
- Fruit Salad: A light fruit salad brings freshness to the table, offering a balanced contrast to the rich flavors of the cookies.
Make Ahead and Storage
These Ice Cream Cone Cookies are perfect for meal prep, allowing you to enjoy delicious treats whenever a craving strikes. You can easily store them for later enjoyment or even freeze the dough for a future bake.
Storing Leftovers
- Store cookies in an airtight container at room temperature for up to 3 days.
- For longer freshness, keep them in the refrigerator for up to a week.
Freezing
- Place unbaked cookie dough balls on a baking sheet and freeze until solid.
- Transfer the frozen dough into a zip-top bag, label it, and store in the freezer for up to 3 months.
Reheating
- To reheat cookies, place them in a preheated oven at 350°F (175°C) for about 5-7 minutes.
- For the frozen dough, bake straight from the freezer; just add an extra minute or two to the baking time.
FAQs
Here are some common questions you might have about Ice Cream Cone Cookies.
Can I use different types of cones for Ice Cream Cone Cookies?
Absolutely! While sugar and waffle cones work best, feel free to experiment with other cone types, keeping in mind that they may alter the flavor and texture slightly.
How should I store Ice Cream Cone Cookies?
Store your Ice Cream Cone Cookies in an airtight container at room temperature for about three days. For longer storage, consider refrigerating or freezing them as described above.
What makes Ice Cream Cone Cookies unique?
Ice Cream Cone Cookies are unique because they incorporate crunchy bits of ice cream cones mixed into a chewy cookie base. This delicious combination of textures makes each bite special!
Final Thoughts
I hope you enjoy making these delightful Ice Cream Cone Cookies as much as I do! They’re not just a treat; they’re a fun way to bring a bit of nostalgia into your kitchen. Each batch is sure to uplift your spirits and impress friends and family alike. Happy baking!
Ice Cream Cone Cookies

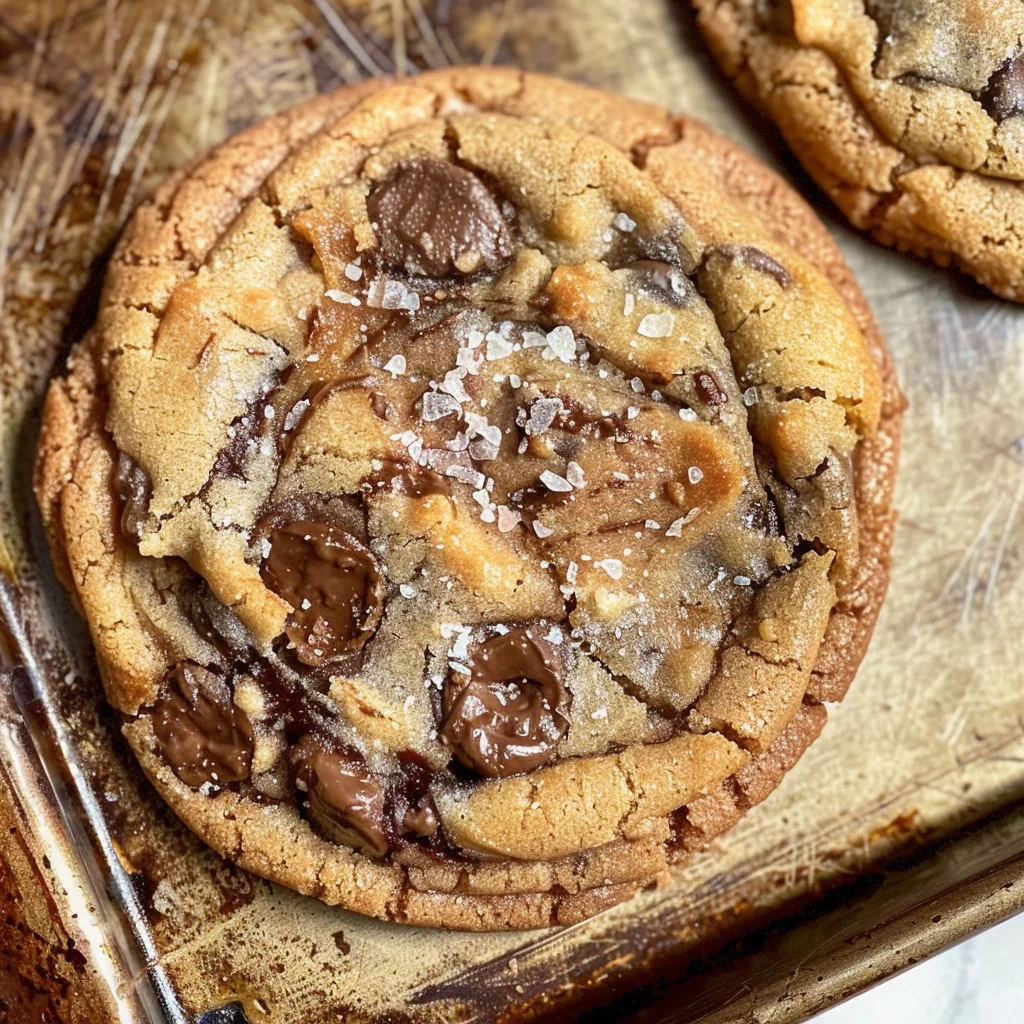
Ice Cream Cone Cookies are a delightful, nostalgic treat that combines the chewy goodness of cookies with crunchy bits of ice cream cones. Imagine sinking your teeth into a soft cookie packed with sweet chocolate chips and swirls of rich hot fudge, all while enjoying the playful crunch of cone pieces. Perfect for busy weeknights or family gatherings, these cookies are not only easy to make but also customizable to suit any taste preference. Whether you’re baking for a party or just indulging yourself, this recipe guarantees smiles all around.
- Prep Time: 15 minutes
- Cook Time: 13 minutes
- Total Time: 28 minutes
- Yield: Approximately 24 cookies 1x
- Category: Dessert
- Method: Baking
- Cuisine: N/A
Ingredients
- ½ cup butter
- ¾ cup brown sugar
- ¼ cup granulated sugar
- 1 large egg
- 2 tsp vanilla extract
- ½ tsp baking powder
- ½ tsp baking soda
- ½ tsp salt
- 1½ cups all-purpose flour
- ½ cup chocolate chips
- 2 sugar or waffle cones (broken into pieces)
- 3 tbsp hot fudge (chilled or frozen)
- Flaked salt for topping
Instructions
- Preheat oven to 375°F (190°C) and line baking sheets with parchment paper.
- In a stand mixer, cream butter and sugars until light and fluffy (3-4 minutes).
- Add egg and vanilla; mix until smooth.
- Gradually combine dry ingredients until just mixed.
- Fold in chocolate chips, cone pieces, and swirl in hot fudge.
- Scoop dough onto prepared sheets with enough space to spread; sprinkle flaked salt on top.
- Bake for 11-14 minutes until edges are golden brown.
Nutrition
- Serving Size: 1 serving
- Calories: 190
- Sugar: 10g
- Sodium: 110mg
- Fat: 9g
- Saturated Fat: 5g
- Unsaturated Fat: 4g
- Trans Fat: 0g
- Carbohydrates: 25g
- Fiber: <1g
- Protein: 2g
- Cholesterol: 20mg


Leave a Comment