If you’re looking for a quick and easy way to prepare green beans, you’ve come to the right place! Learning how to blanch green beans is a game changer for any home cook. This simple technique helps maintain their vibrant color and crisp texture, making them perfect for salads, stir-fries, or as a delightful side dish on busy weeknights or family gatherings.
Blanching is not only fast but also enhances the flavor of your green beans, making them taste even better in your favorite recipes. It’s a skill that will elevate your cooking and impress your loved ones, so let’s dive in!
Why You’ll Love This Recipe
- Quick Preparation: This method takes only about 10 minutes from start to finish, perfect for those busy days.
- Vibrant Color: Blanching brightens the green beans, making your dishes look as delicious as they taste.
- Crisp Texture: The ice bath locks in that lovely crunch, so every bite is satisfying.
- Versatile Use: These blanched green beans can be tossed into salads, served as a side, or added to casseroles.
- Healthy Option: This recipe keeps it light and nutritious without any fuss!
Ingredients You’ll Need
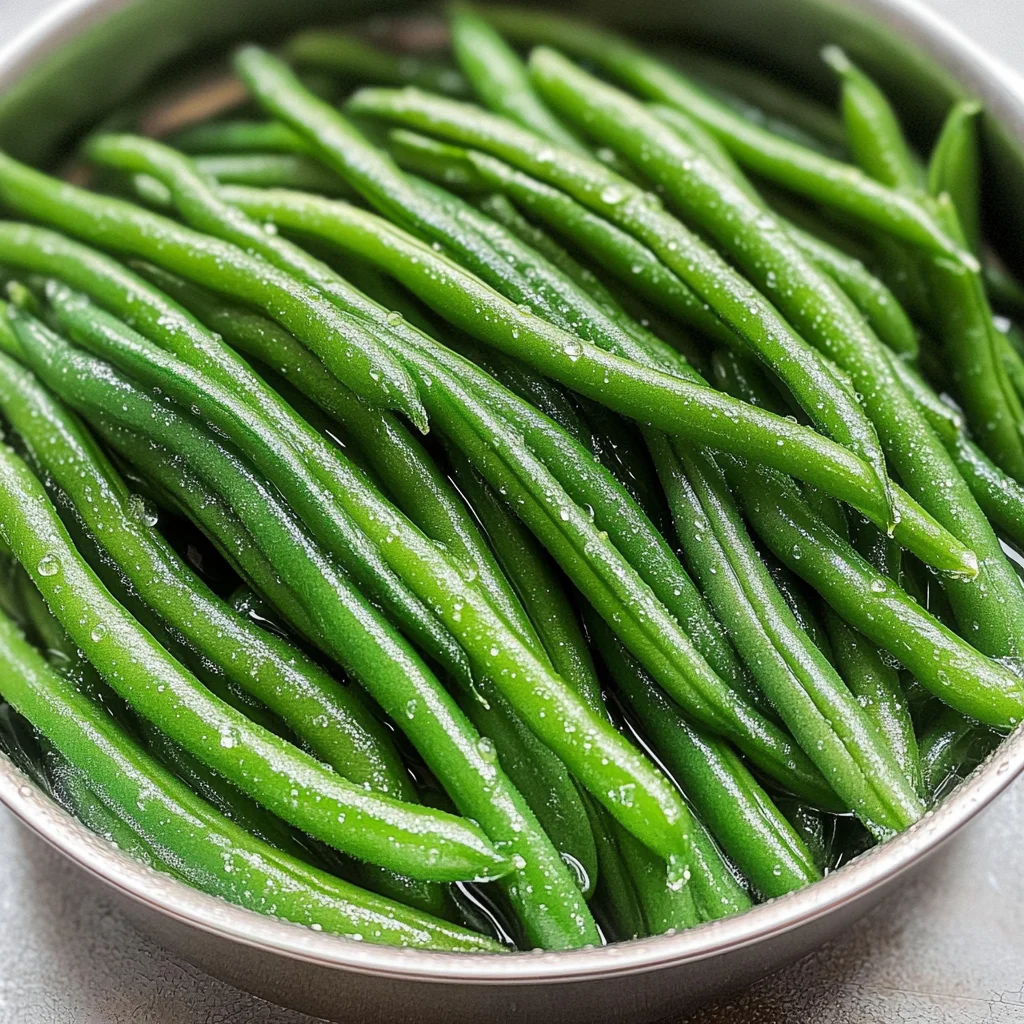
This recipe calls for just two simple ingredients that you probably already have at home. Freshness is key here, so let’s get started with these wholesome essentials!
For the Green Beans
- 1 lb fresh green beans
- water
Variations
One of the best things about learning how to blanch green beans is how flexible this technique can be. Once you master the basic method, you can easily switch things up!
- Add Flavor: Toss blanched green beans with olive oil and lemon zest for a refreshing twist.
- Spice it Up: Sprinkle some red pepper flakes over the blanched beans for a kick of heat.
- Mix with Other Veggies: Combine blanched green beans with other vegetables like carrots or bell peppers for a colorful medley.
- Top with Nuts: Add toasted almonds or walnuts for an extra crunch and nutty flavor.
How to Make How to Blanch Green Beans
Step 1: Wash and Prepare the Green Beans
Start by washing your fresh green beans under cool running water. This step ensures they are clean and ready for cooking. If needed, trim off the ends of each bean—it makes them easier to eat later on!
Step 2: Boil Water
Next, fill a medium saucepan about three-quarters full with water and bring it to a simmer. This simmering water will be essential for blanching your green beans quickly while keeping their bright color.
Step 3: Prepare the Ice Bath
While waiting for the water to simmer, grab a large bowl and fill it about three-quarters full with cold water. Add plenty of ice cubes to create an ice bath. This step is crucial because it halts the cooking process immediately after blanching.
Step 4: Blanch the Green Beans
Once your water is simmering, gently add in the green beans. Let them cook for about 2-4 minutes. Keep an eye on them—this is where you want them tender but still crisp!
Step 5: Ice Bath Time!
Using tongs, carefully transfer the hot green beans directly into your prepared ice bath. This shocking process locks in their color and crunch. Let them sit in there for about 5 minutes until fully cooled.
Step 6: Serve or Store
Now that your green beans are perfectly blanched, you can use them right away in your favorite recipes or serve them as-is as an easy side dish! Enjoy all that vibrant flavor and delightful crunch!
Pro Tips for Making How to Blanch Green Beans
Blanching green beans is a quick and easy process, and with these pro tips, you’ll ensure perfect results every time!
- Use fresh green beans: Freshness matters! Look for bright green, firm beans without blemishes. Fresh beans will have better flavor and texture.
- Don’t overcrowd the pot: If you’re blanching a large batch, do it in smaller portions. This ensures even cooking and prevents the water temperature from dropping too much.
- Time it right: Keep a close eye on the timer! Blanching for too long can make the beans mushy. Aim for 2-4 minutes depending on your desired crunchiness.
- Cool them quickly: The ice bath is crucial. It stops the cooking process immediately, preserving that vibrant color and crisp texture.
- Season after blanching: For optimal taste, season your green beans after they’ve been blanched. This allows flavors to adhere better without compromising their fresh taste.
How to Serve How to Blanch Green Beans
Blanched green beans are not only delicious but also versatile! You can enjoy them hot or cold, making them perfect for salads, sides, or snacks.
Garnishes
- Lemon zest: A sprinkle of lemon zest adds a bright, refreshing note that enhances the natural flavor of the green beans.
- Toasted almonds: Toss in some toasted almonds for a delightful crunch and nutty flavor that pairs beautifully with the crispness of the beans.
- Fresh herbs: Chopped parsley or dill can elevate your dish with fresh aromas and tastes. Simply sprinkle before serving for an extra pop.
Side Dishes
- Quinoa Salad: This protein-packed salad combines quinoa with cherry tomatoes, cucumber, and a light vinaigrette. It’s refreshing and complements the green beans perfectly.
- Roasted Potatoes: Crispy roasted potatoes seasoned with garlic and rosemary add a hearty touch to your meal while balancing the freshness of blanched green beans.
- Grilled Tofu Skewers: Marinated tofu skewers are a fantastic plant-based protein option. The smoky flavor from grilling pairs nicely with the bright greens.
- Mixed Greens Salad: A simple mixed greens salad with your choice of dressing provides a light contrast to the crunchy texture of blanched green beans, making it a refreshing addition to any meal.
Enjoy experimenting with these ideas to create beautiful and delicious dishes featuring your blanched green beans!
Make Ahead and Storage
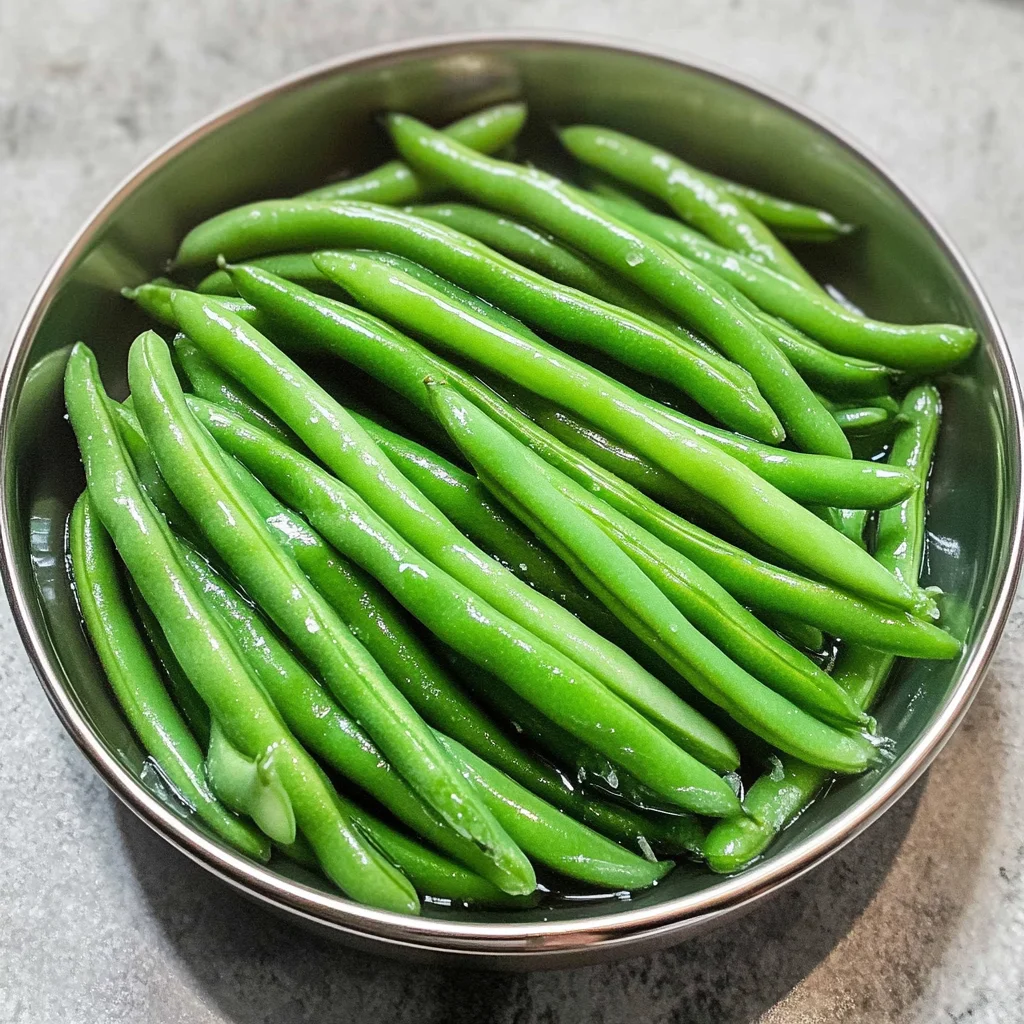
Blanching green beans is a fantastic way to prepare them ahead of time, making mealtime a breeze! Whether you’re meal prepping for the week or just looking to save some time, these blanched beans will keep their vibrant color and crisp texture.
Storing Leftovers
- Place any leftover blanched green beans in an airtight container.
- Store in the refrigerator for up to 3-5 days.
- Make sure they are completely cooled before sealing the container to prevent condensation.
Freezing
- To freeze, spread cooked green beans in a single layer on a baking sheet.
- Freeze them for about 1-2 hours until firm.
- Transfer the frozen beans to freezer-safe bags or containers, removing as much air as possible.
- They can be stored in the freezer for up to 6 months.
Reheating
- For best results, reheat blanched green beans in a microwave-safe dish with a splash of water.
- Cover with a lid or plastic wrap, leaving a small vent, and microwave for 1-2 minutes.
- Alternatively, sauté them in a pan over medium heat for about 5 minutes until warmed through.
FAQs
Here are some common questions you might have about blanching green beans!
How long do you blanch green beans?
Blanching green beans typically takes around 2-4 minutes. You want them tender yet still crisp!
Can I use frozen green beans instead of fresh?
While fresh green beans yield the best results when blanching, you can certainly use frozen ones! They’re pre-blanched and ready to go; just heat them according to package instructions.
How to blanch green beans without losing color?
To maintain their vibrant green color, immediately transfer the blanched green beans into an ice bath right after cooking.
What can I do with blanched green beans?
Blanched green beans are versatile! You can toss them into salads, stir-fries, or serve them as a simple side dish drizzled with olive oil and lemon juice.
Final Thoughts
I hope you find this guide on how to blanch green beans helpful! It’s such a simple technique that enhances your meals beautifully. Enjoy the process of making these bright and delicious veggies—I’m sure you’ll love incorporating them into your favorite dishes. Happy cooking!
How to Blanch Green Beans

If you’re looking for a quick and effective way to enjoy fresh green beans, mastering the art of blanching is essential. This straightforward technique preserves the vibrant color and satisfying crunch of your green beans, making them a fantastic addition to salads, stir-fries, or as a delightful side dish. In just 10 minutes, you can transform simple green beans into a culinary delight that will impress your family and friends. Let’s get started on this easy yet rewarding cooking method!
- Prep Time: 5 minutes
- Cook Time: 5 minutes
- Total Time: 10 minutes
- Yield: Approximately 4 servings 1x
- Category: Side Dish
- Method: Blanching
- Cuisine: American
Ingredients
- 1 lb fresh green beans
- water
Instructions
- Rinse the fresh green beans under cool water and trim the ends.
- Fill a medium saucepan three-quarters full with water and bring it to a simmer.
- Prepare an ice bath in a large bowl by filling it with cold water and ice cubes.
- Once the water is simmering, gently add the green beans and cook for 2-4 minutes until tender yet crisp.
- Using tongs, transfer the beans immediately into the ice bath for about 5 minutes to stop the cooking process.
- Enjoy your blanched green beans right away or store them for later use.
Nutrition
- Serving Size: 1 cup (125g)
- Calories: 44
- Sugar: 2g
- Sodium: 6mg
- Fat: 0g
- Saturated Fat: 0g
- Unsaturated Fat: 0g
- Trans Fat: 0g
- Carbohydrates: 9g
- Fiber: 4g
- Protein: 2g
- Cholesterol: 0mg



Leave a Comment