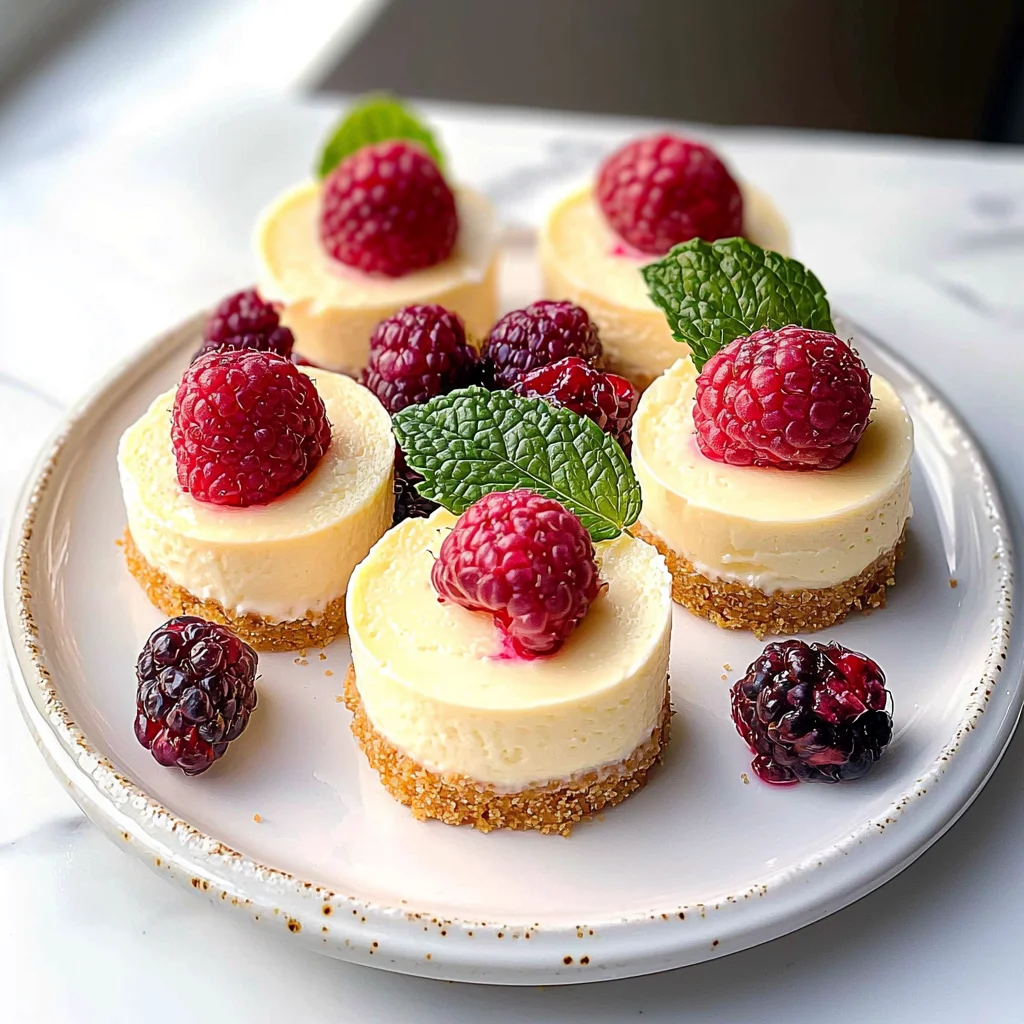
If you’re looking for a healthy dessert that feels indulgent but is packed with protein, you’ve come to the right place! These Mini Protein Cheesecakes are a delightful treat that everyone will love, from kids to adults. With over 9 grams of protein per serving, they’re perfect for busy weeknights or family gatherings where you want something sweet but nutritious. Plus, they’re easy to whip up and can be made ahead of time for those moments when you need a quick and satisfying dessert.
Why You’ll Love This Recipe
- High in Protein: Enjoy over 9 grams of protein in each mini cheesecake, making it a guilt-free treat!
- Family-Friendly Appeal: These mini cheesecakes are sure to please even the pickiest eaters at home.
- Make-Ahead Convenience: Prepare them in advance and chill them for an easy dessert option ready whenever you need it.
- Deliciously Versatile: You can customize the flavors with different toppings or add-ins for a unique twist every time!
- Simple Ingredients: Made with wholesome ingredients like Greek yogurt and cream cheese, you’ll feel good about serving these.
Ingredients You’ll Need
These mini cheesecakes are made with simple, wholesome ingredients that you probably already have in your kitchen. Each component works together to create that creamy texture and delicious flavor we all love. Let’s gather what we need!
For the Crust
- 1 ½ cups graham cracker crumbs (gluten-free if needed (about 10 sheets))
- 5 Tbsp salted butter (melted)
For the Filling
- 8 oz cream cheese (room temperature (regular or low fat if desired))
- ¾ cup plain 0% Greek yogurt (room temperature)
- ⅓ cup granulated sugar
- 1 egg + 1 yolk
- 1 tsp vanilla extract
- 2 tsp lemon juice
- ¼ – ½ tsp lemon zest (optional if you want a lemony cheesecake)
- 1 Tbsp arrowroot starch or cornstarch
Variations
This recipe is wonderfully flexible, allowing you to make it your own! Here are some fun variations to try:
- Swap the crust: Use almond flour or crushed nuts instead of graham crackers for a gluten-free option.
- Add a fruity twist: Mix in pureed berries into the filling for a burst of flavor and color.
- Change up the topping: Top with fresh fruits, chocolate shavings, or a dollop of dairy-free whipped cream for extra flair.
- Make it chocolatey: Add cocoa powder to the filling for a rich chocolate cheesecake experience.
How to Make Mini Protein Cheesecakes
Step 1: Preheat and Prepare
Start by preheating your oven to 350°F and lining a cupcake tin with 12 liners. This ensures that your mini cheesecakes bake evenly and don’t stick!
Step 2: Make the Crust
In a food processor, pulse the graham crackers until they form fine crumbs. Next, mix in the melted butter until everything is combined. This step is crucial because the buttery mixture holds everything together once baked! Divide this mixture among your muffin liners, pressing it down firmly so it forms a solid base.
Step 3: Bake the Crust
Pop your crust-filled tins into the oven and bake them for about 5-6 minutes. Let them cool while you prepare the filling; this helps set up that delightful crunch!
Step 4: Blend the Filling
In a large mixing bowl, beat together the room-temperature cream cheese until smooth; this prevents any lumps from forming later on. Then, add in Greek yogurt, sugar, eggs, vanilla extract, lemon juice and zest, plus arrowroot starch. Mixing on low speed ensures everything comes together without overbeating.
Step 5: Fill and Bake Again
Pour this creamy filling over your cooled crusts. Bake for another 17-20 minutes until just set – they should not jiggle too much in the center. This step is key for achieving that perfect cheesecake texture!
Step 6: Cool Down
Allow your cheesecakes to cool at room temperature for about half an hour before transferring them to the fridge. Chilling them for at least three hours will enhance their flavors and give them that signature cheesecake firmness.
Step 7: Serve and Enjoy!
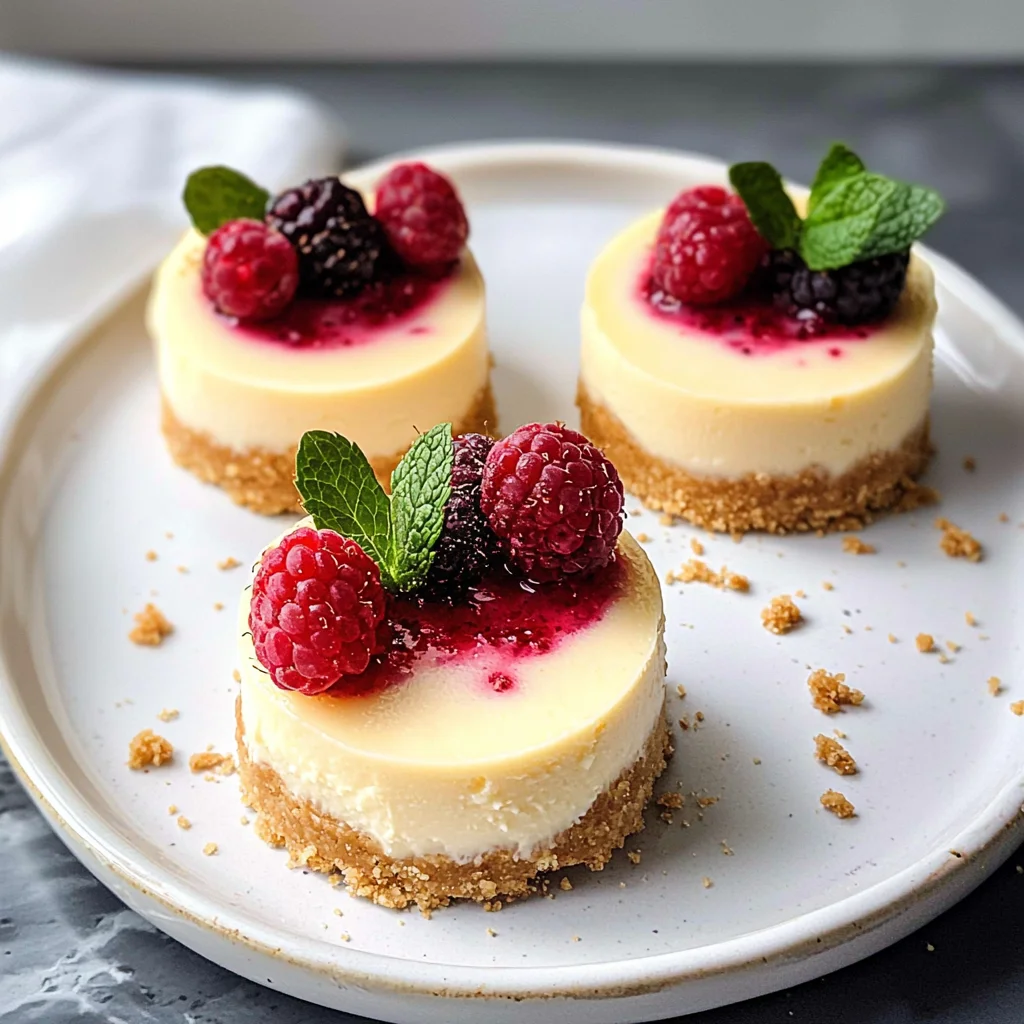
Top each mini cheesecake with fresh berries or mint leaves right before serving. The combination of creamy filling with refreshing toppings makes these treats irresistible! Enjoy every bite!
Pro Tips for Making Mini Protein Cheesecakes
Creating the perfect mini protein cheesecakes can be a breeze with these helpful tips!
- Use room temperature ingredients: This ensures a smoother batter, preventing lumps and allowing the cheesecake to rise evenly during baking.
- Don’t overmix the filling: Overmixing can incorporate too much air, leading to cracks in your cheesecakes as they cool. Mix just until combined for a creamy texture.
- Check for doneness carefully: The cheesecakes should be set but not overbaked. A slight jiggle in the center is okay; they will firm up as they cool.
- Cool before chilling: Allowing them to cool at room temperature before refrigerating helps maintain their texture and prevents condensation from forming, which can make them soggy.
- Experiment with flavors: Feel free to add different extracts or spices to the filling (like almond extract or cinnamon) for unique flavor profiles that suit your taste.
How to Serve Mini Protein Cheesecakes
Presenting your mini protein cheesecakes beautifully can enhance the overall experience!
Garnishes
- Fresh berries: Strawberries, blueberries, or raspberries add a pop of color and a burst of freshness that complements the rich cheesecake.
- Mint leaves: A few sprigs of mint not only look appealing but also add a refreshing touch that balances the sweetness.
Side Dishes
- Greek yogurt with honey: A small side of Greek yogurt drizzled with honey enhances the protein content while adding creaminess and sweetness.
- Fruit salad: A light fruit salad made with seasonal fruits provides a refreshing contrast to the rich cheesecakes.
- Granola: A sprinkle of granola on top adds crunch and pairs well with the creamy texture of the cheesecake.
- Herbal tea: A warm cup of herbal tea, like chamomile or peppermint, is a soothing accompaniment that complements dessert perfectly.
Make Ahead and Storage
These mini protein cheesecakes are an excellent choice for meal prep, making them perfect for busy weeks or gatherings. You can easily store or freeze them to enjoy later!
Storing Leftovers
- Place any leftover cheesecakes in an airtight container.
- Store in the refrigerator for up to 5 days.
- Keep them separated with parchment paper if stacking to avoid sticking.
Freezing
- Wrap each cheesecake tightly in plastic wrap.
- Place wrapped cheesecakes in a freezer-safe bag or container.
- They can be frozen for up to 3 months.
Reheating
- Thaw frozen cheesecakes in the refrigerator overnight before serving.
- If desired, you can enjoy them cold or gently warm them in a microwave for a few seconds.
FAQs
Can I make these Mini Protein Cheesecakes dairy-free?
Yes! You can substitute the cream cheese with a dairy-free alternative and use coconut yogurt instead of Greek yogurt.
How many grams of protein are in Mini Protein Cheesecakes?
Each mini protein cheesecake contains over 9 grams of protein, making it a satisfying and healthy dessert option.
Can I use a different sweetener instead of granulated sugar?
Absolutely! Feel free to use honey, maple syrup, or your favorite natural sweetener. Just keep in mind that this may alter the texture slightly.
How long do Mini Protein Cheesecakes need to chill?
They should chill for at least 3 hours in the refrigerator after baking for the best texture and flavor.
Final Thoughts
I hope you enjoy making these delightful mini protein cheesecakes as much as I do! They’re not only delicious but also a healthy treat that everyone will love. Don’t hesitate to get creative with toppings and flavors. Happy baking!
Mini Protein Cheesecakes
If you’re on the hunt for a nutritious dessert that satisfies your sweet tooth without compromising your health goals, these Mini Protein Cheesecakes are the answer! Bursting with flavor and packed with over 9 grams of protein per serving, they make an ideal treat for busy weeknights or family gatherings. Easy to prepare and customizable with various toppings, these mini cheesecakes combine wholesome ingredients like Greek yogurt and cream cheese for a creamy texture everyone will love. Prepare them ahead of time, and you’ll have a delightful dessert ready to impress at a moment’s notice!
- Prep Time: 15 minutes
- Cook Time: 25 minutes
- Total Time: 40 minutes
- Yield: Serves 12 mini cheesecakes 1x
- Category: Dessert
- Method: Baking
- Cuisine: American
Ingredients
- 1 ½ cups graham cracker crumbs (gluten-free if needed)
- 5 Tbsp salted butter (melted)
- 8 oz cream cheese (room temperature)
- ¾ cup plain 0% Greek yogurt (room temperature)
- ⅓ cup granulated sugar
- 1 egg + 1 yolk
- 1 tsp vanilla extract
- 2 tsp lemon juice
- 1 Tbsp arrowroot starch or cornstarch
Instructions
- Preheat your oven to 350°F and line a cupcake tin with 12 liners.
- For the crust, pulse graham crackers in a food processor until fine crumbs form, then mix in melted butter. Divide among muffin liners, pressing down firmly.
- Bake crusts for 5-6 minutes; let cool while preparing the filling.
- In a large bowl, beat cream cheese until smooth, then add Greek yogurt, sugar, eggs, vanilla extract, lemon juice, and arrowroot starch. Mix until just combined.
- Pour filling over cooled crusts and bake for another 17-20 minutes until set but still slightly jiggy in the center.
- Allow to cool at room temperature before chilling in the fridge for at least three hours.
- Serve topped with fresh berries or mint leaves.
Nutrition
- Serving Size: 1 serving
- Calories: 132
- Sugar: 6g
- Sodium: 180mg
- Fat: 8g
- Saturated Fat: 4g
- Unsaturated Fat: 3g
- Trans Fat: 0g
- Carbohydrates: 11g
- Fiber: 1g
- Protein: 9g
- Cholesterol: 55mg
Leave a Comment