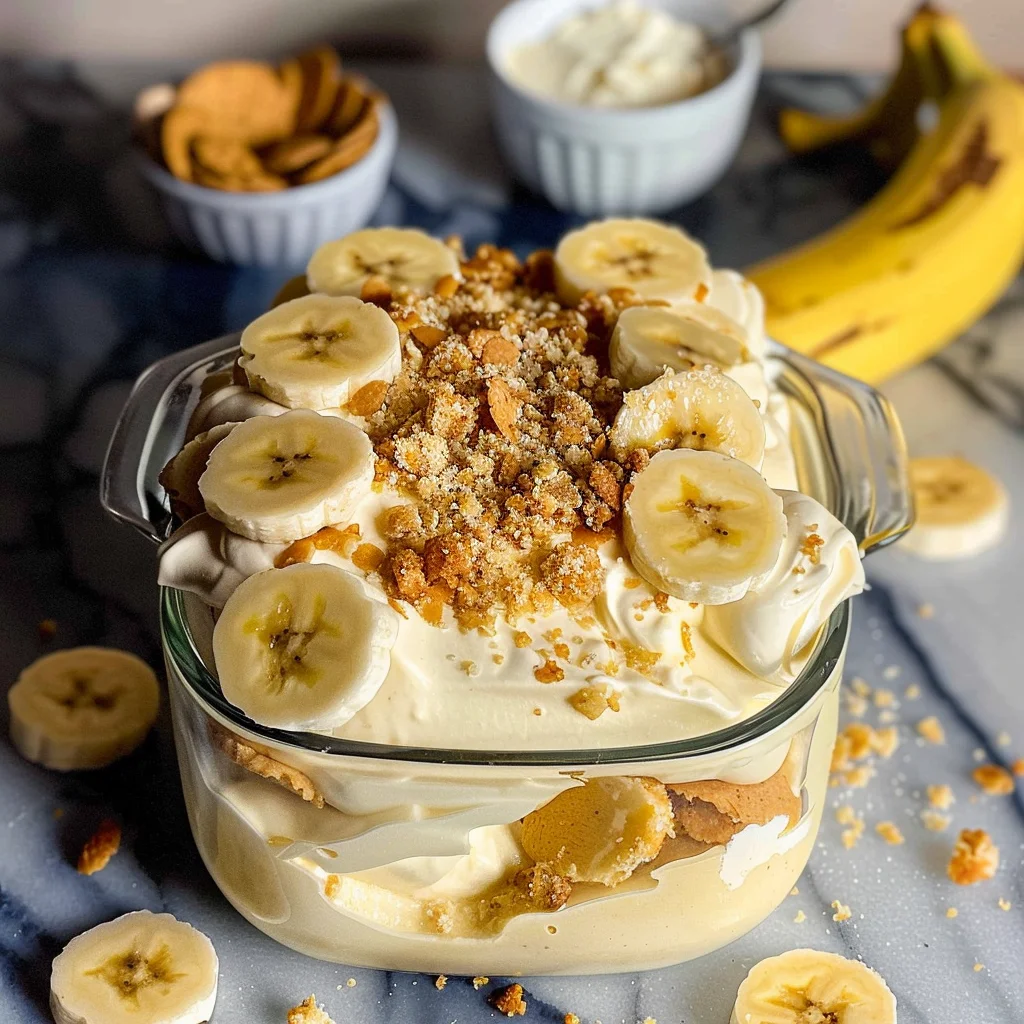
If you’re looking for a dessert that’s both delightful and super easy to whip up, let me introduce you to my cherished No Bake Banana Pudding! This recipe is a staple in our family gatherings and has gained quite the reputation for being the star of potlucks and special occasions. With layers of creamy pudding, fresh bananas, and crunchy Nilla Wafers, it’s a treat that brings smiles to everyone’s faces.
What I love most about this No Bake Banana Pudding is how effortlessly it comes together. You don’t need an oven or complicated techniques—just mix, layer, and chill! Perfect for busy weeknights or when you want to impress guests without spending hours in the kitchen.
Why You’ll Love This Recipe
- Super easy preparation: With just a few simple steps, you’ll have a delicious dessert ready in no time.
- Family-friendly appeal: Kids and adults alike adore this sweet treat, making it a hit at any gathering.
- Make-ahead convenience: Prepare it in advance and let it chill overnight—perfect for busy schedules!
- Decadent flavor: The combination of creamy vanilla pudding and fresh bananas is simply irresistible.
Ingredients You’ll Need
This No Bake Banana Pudding recipe is made with simple, wholesome ingredients that are likely already in your pantry. Let’s gather everything you need!
For the Pudding
- 5.1 oz vanilla instant pudding
- 3 cups cold milk
- 8 oz Cool Whip
For the Layers
- 3 large bananas (thinly sliced, or 4 medium)
- 1 box Nilla Wafer cookies
- Additional bananas for garnish if desired
Variations
The beauty of this No Bake Banana Pudding is its flexibility! Feel free to get creative with these variations:
- Add some crunch: Mix in crushed nuts or chocolate chips for an extra layer of texture.
- Go tropical: Substitute some banana slices with diced pineapple for a refreshing twist.
- Make it chocolatey: Use chocolate pudding instead of vanilla for a deliciously rich version.
- Swap the whipped topping: If you’re looking for a dairy-free option, try using coconut whipped cream instead of Cool Whip.
How to Make No Bake Banana Pudding
Step 1: Prepare the Pudding Mixture
Start by mixing the vanilla instant pudding and cold milk together in a large mixing bowl. Be sure to whisk thoroughly until there are no lumps—this step is crucial for achieving that smooth, creamy texture that everyone loves in banana pudding!
Step 2: Add the Whipped Topping
Next, stir in half of the Cool Whip until well blended. This will lighten up the pudding mixture and give your No Bake Banana Pudding that fluffy consistency we all enjoy.
Step 3: Layer the Cookies
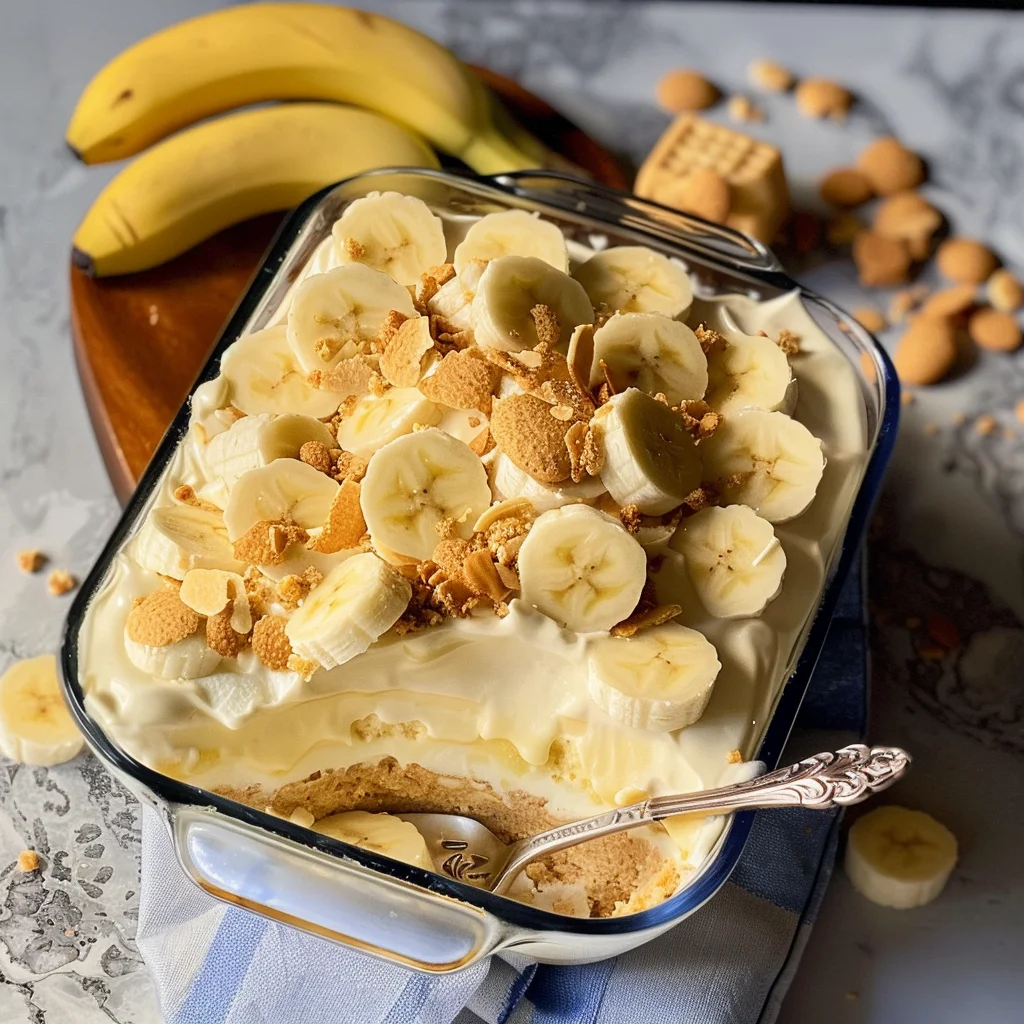
Now it’s time to build your masterpiece! Place a layer of Nilla Wafer cookies on the bottom of a 9 x 13 baking dish. These cookies will soak up some moisture from the pudding while still maintaining their delightful crunch.
Step 4: Add Bananas
Place a layer of sliced bananas over the wafer cookies. Not only do they add sweetness but also freshness to each bite!
Step 5: Spoon on Half of the Pudding Mixture
Spoon half of your prepared pudding mixture over the banana slices and spread it evenly with a spatula. This helps create beautiful layers that are visually appealing when you serve.
Step 6: Repeat Your Layers
Repeat the layering process with more cookies, bananas, and finish with another layer of pudding on top. Don’t rush this step; take your time to make sure each layer is even!
Step 7: Top with Remaining Whipped Topping
Spread the remaining Cool Whip over the final pudding layer. This not only looks lovely but also adds an extra touch of creaminess when served.
Step 8: Chill & Serve
Place your assembled dish into the refrigerator for at least 2 hours or overnight if you can wait! Chilling allows all those flavors to meld beautifully. Just before serving, feel free to garnish with additional banana slices and crushed cookies for that perfect finishing touch. Enjoy every creamy bite!
Pro Tips for Making No Bake Banana Pudding
To ensure your No Bake Banana Pudding turns out perfectly every time, keep these helpful tips in mind!
-
Use ripe bananas: Ripe bananas provide the best flavor and creaminess. They’re naturally sweeter and blend beautifully with the pudding.
-
Chill your bowl and utensils: Pre-chilling your mixing bowl and utensils can help keep your whipped topping extra fluffy, making the dessert lighter and more enjoyable.
-
Layer carefully: Take your time layering the cookies, bananas, and pudding. A neat presentation makes a big difference when serving, especially for gatherings.
-
Make it ahead of time: Preparing this dessert a few hours or even a day in advance allows the flavors to meld beautifully and ensures a firmer texture.
-
Keep leftovers covered: If you have any leftovers, cover them tightly to prevent browning of the bananas and to maintain freshness.
How to Serve No Bake Banana Pudding
Presenting your No Bake Banana Pudding with style can enhance the experience for everyone at the table. Here are some ideas!
Garnishes
- Fresh mint leaves: A sprig of mint not only adds a pop of color but also offers a refreshing flavor that complements the sweetness.
- Chocolate shavings: A sprinkle of chocolate shavings on top creates a beautiful contrast and adds an indulgent touch to each serving.
Side Dishes
- Fruit salad: A light fruit salad with seasonal fruits can balance the richness of the pudding while adding a refreshing crunch.
- Lightly sweetened whipped cream: Offering extra whipped cream on the side allows guests to customize their dessert experience.
- Shortbread cookies: The buttery crunch of shortbread pairs wonderfully with the creamy pudding, providing a delightful texture contrast.
- Coffee or tea: Serving a warm beverage alongside enhances the overall dessert experience, making it perfect for any gathering.
Make Ahead and Storage
This No Bake Banana Pudding is a fantastic option for meal prep, allowing you to enjoy an easy dessert anytime! Here’s how to store it properly and keep it fresh.
Storing Leftovers
- Cover the dish tightly with plastic wrap or aluminum foil to prevent drying out.
- Refrigerate leftovers for up to 3 days.
- Avoid adding fresh bananas on top until you’re ready to serve to maintain freshness.
Freezing
- While it’s best served fresh, you can freeze the pudding if needed.
- Portion into airtight containers or freezer bags, leaving some space for expansion.
- Freeze for up to 2 months. Thaw in the refrigerator overnight before serving.
Reheating
- No reheating is necessary since this is a chilled dessert.
- Just give it a gentle stir if it has separated during storage, and it will be ready to enjoy!
FAQs
Here are some common questions about making this delicious No Bake Banana Pudding.
Can I use other types of cookies instead of Nilla Wafers for No Bake Banana Pudding?
Absolutely! While Nilla Wafers are traditional, you can use any similar cookies like chessmen, vanilla wafers, or even graham crackers for a different flavor profile.
How long does No Bake Banana Pudding last in the fridge?
No Bake Banana Pudding can last in the refrigerator for about 3 days when stored properly. Just remember to keep it covered!
Is there a dairy-free alternative for making No Bake Banana Pudding?
Yes! You can use dairy-free milk such as almond milk or coconut milk and replace Cool Whip with a non-dairy whipped topping for a dairy-free version.
Final Thoughts
I hope you enjoy making this delightful No Bake Banana Pudding! It’s truly a crowd-pleaser that’s perfect for any occasion. Don’t hesitate to share your creations; I would love to hear how yours turned out. Happy cooking!
No Bake Banana Pudding
If you’re in search of a dessert that’s both delicious and effortless to prepare, look no further than this No Bake Banana Pudding. With its layers of creamy vanilla pudding, fresh banana slices, and crunchy Nilla Wafers, this sweet treat is sure to impress family and friends at any gathering. The best part? You don’t need an oven or complicated techniques—just mix, layer, and chill for a delightful dessert that everyone will love.
- Prep Time: 15 minutes
- Cook Time: 0 minutes
- Total Time: 15 minutes
- Yield: Serves 12 1x
- Category: Dessert
- Method: No Bake
- Cuisine: American
Ingredients
- 5.1 oz vanilla instant pudding
- 3 cups cold milk
- 8 oz Cool Whip
- 3 large bananas (thinly sliced)
- 1 box Nilla Wafer cookies
Instructions
- In a large mixing bowl, whisk together the vanilla instant pudding and cold milk until smooth.
- Gently fold in half of the Cool Whip until combined.
- Layer Nilla Wafer cookies at the bottom of a 9 x 13 dish.
- Add a layer of sliced bananas on top of the cookies.
- Spoon half of the pudding mixture over the bananas and spread evenly.
- Repeat with another layer of cookies, bananas, and finish with the remaining pudding mixture.
- Top with the rest of the Cool Whip.
- Refrigerate for at least 2 hours or overnight before serving.
Nutrition
- Serving Size: 1 slice (120g)
- Calories: 210
- Sugar: 21g
- Sodium: 150mg
- Fat: 9g
- Saturated Fat: 4g
- Unsaturated Fat: 3g
- Trans Fat: 0g
- Carbohydrates: 30g
- Fiber: 1g
- Protein: 2g
- Cholesterol: 10mg
Leave a Comment